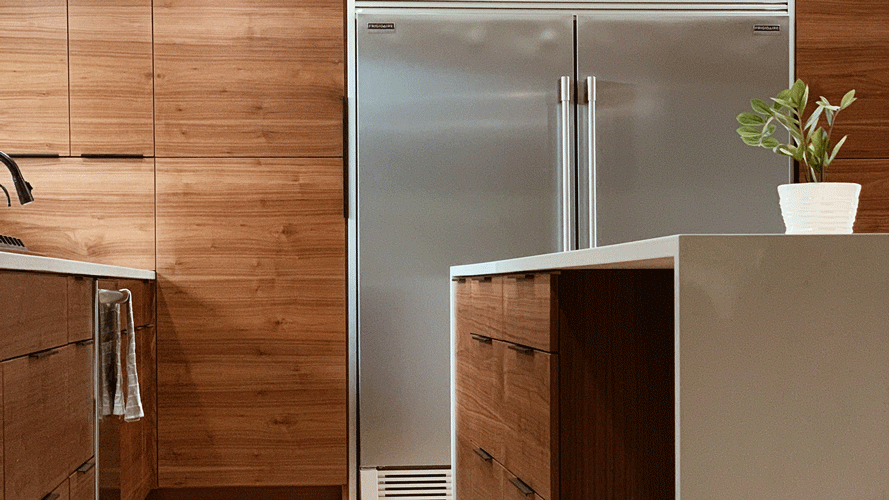
Inside our homes are a complete expression of ourselves and what we want to be surrounded by, whether that’s restored hardwood floors or dozens of throw pillows you want your home to truly feel like yours.
Now more than ever homeowners are getting amped up about taking on their own DIY projects and bringing their own tool and designer master. More power to them!
But just because you now wear the nuts and bolts crown of home improvement doesn’t mean you can’t refer to a handy guide when you need it; projects can get overwhelming quickly without some guidance.
In this article, we’re going to provide the ultimate guide to painting your kitchen cabinets and answer that pondering question: how much does it cost to paint kitchen cabinets?
Grab that paintbrush and blue tape, we’re gettin’ to work!
So, How Much Is This Going To Cost?
Taking on the project to paint your kitchen cabinets instead of doing a complete gut job is a huge money saver in itself; entirely replacing your kitchen cabinets can cost thousands of dollars!
When it comes to the alternative of painting, the cost is shaved down significantly. According to This Old House, the average cost of painting your kitchen cabinets is around $200. A great price! But how was that number pulled out?
Let’s go ahead and list the supplies you’ll need and the average cost of those objects from a typical Lowe’s store as we’ll be using their painting instructions later in this article. You are completely able to purchase these items from any store that best suits you.
( * represent items that may or may not need to be purchased based on the nature of your cabinets, hang in for the remainder of the article to discover exactly what YOU need!).
- Bonding Primer * (Used for laminate cabinets) $26.98
- Stripping Gel * (Used for previously painted cabinets) $39.74
- Painter’s Tape $4.48
- Wood Filler * (Used in the case of dinged up cabinet details) $4.97
- Medium to Fine Grit Sandpaper $5.98
- Tac Cloth $1.98
- Painting Tripods $9.58
- Latex Based Paint OR Oil Based Paint * (Completly depends on the project and desired color) $39.98 OR $34.99
- Polyurethane $16.98
- Paint Roller $3.98
- Paint Brush $3.28
- Paint Tray $4.98
Certainly, this is a much lower price than thousands of dollars, but with the luxury of a price reduction comes time and dedication. Let’s see a deeper look into this DIY project.
The Process of Painting Kitchen Cabinets: What Should I Do?
Going into this project you should prepare yourself with patience and a lot of time, give yourself a whole weekend to knock this out.
But try not to go into this project with a daunting grey cloud over your head, although this is a time-consuming task to tackle it can still be made fun of!
Blast some music, plan to go out to a movie, or go bowling while you’re waiting for your paints to dry; life is fun when you make it so! Plus when you remember that the end result of all this hard work is your brand new spiffy-looking kitchen, this will all be worth it.
As mentioned earlier, we’re going to be following this DIY formula from Lowe’s handy-dandy instruction video. If you’re a visual learner you can go ahead and click the link to watch but be sure to head back here for more guidance!
What You’ll Need
Along with the objects we covered earlier in this article, here are other household items you’ll need to tackle this project:
- Drill and Screwdrivers
- Water mixed with General Purpose Cleaner
- Tarp or large Cloth
- Sharpie
- Ziplock Bags
Let’s Get Down To Business
Now that we have all our supplies ready to go we can start preparing and revamping these outdated cabinets.
1. Get it all Out: Empty Out Your Cabinets
First and foremost you’ll want to empty out all the cabinets you want to paint. Please do keep in mind that this project may take several days, so preparing a functional and organized space for your kitchen items will bring you some more ease during the duration of this DIY project.
2. Break out the Tools: Remove the Cabinet Drawers & Doors
Using your drill and screwdriver carefully remove all of the doors and drawers, a pro tip of making the ending process less of a hassle is to label your doors and drawers.
You can do this by taking a piece of painter’s tape and using your sharpie to label the door/drawer with a letter and taking another piece of painter’s tape and labeling the inside cabinet with that same letter (A goes with A, B goes with B, and so on).
It also makes for a neat workspace to use ziplock bags to keep track of all the screws and hardware from your cabinets; you can feel free to label those too if you’d like!
3. Hit the Road Jack: Relocating Your Doors & Drawers
After you’ve removed and labeled your doors and drawers you’ll need to move them over to a different area, which will most likely be your well-ventilated work area (where you will be doing the stripping and painting).
4. Scrub-a-Dub-Dub: Cleaning Cabinets
An important step in this process is to thoroughly wipe down and clean your cabinets, inside and out using the water mixed with a bit of general-purpose cleaner this is the same for your doors and drawers.
Ensuring that every surface is clean and free of the kitchen grim will bring you the best painting outcome; remember, all your hard work is worth it!
5. Fixer Upper: Finding Imperfects
Do a look over in your cabinets for any holes or imperfections that need to be filled in with the wood filler. Use the provided instructions with the wood filler you have purchased.
6. Cover-Up! Protecting Your Other Kitchen Areas
Before you get into painting you’ll want to make sure you use a tarp or large cloth to completely cover the counter and sink spaces in your kitchen that you do not want to get paint on.
Accidents happen, but you can reduce that possibility by covering those areas up! Also, be sure to utilize your painter’s tape by taping up borders and areas that you also do not want to accidentally paint.
7. Say Goodbye: Stripping Off Old Paint
In the case that your cabinets are not laminate and they have been previously painted, you’ll want to purchase the stripping gel and use it on all your doors and drawers to get the old paint off so the new paint can go on.
8. Gettin’ Down: Sanding Down Your Cabinets, Doors, & Drawers
Using your sandpaper, you’ll want to sand with the grain through the first layer on your cabinets, doors, and drawers. If you’re planning on painting the sides of your cabinets, don’t forget to sand those down as well! This can get cramping on your hands and fingers, so make sure to take some breaks if you need to.
9. Bye Bye Sawdust: Cleaning Up
Once the sanding is done, you can take your tac cloth and get all the access sanding residue off your wood. You can also accomplish this with the help of a vacuum cleaner.
10. Prime Time: Priming Your Cabinets
Using your smaller paintbrush at first, paint the primer onto the smaller more detailed areas of your surfaces this will make painting the larger surfaces much easier and more efficient. Once that is done, you can use a paint roller to paint on the larger areas.
For the primer step, it does not need to look perfect but you do want to make sure that all the surfaces are completely covered. Painting with the grain in an up and down motion will give you a nice primer finish!
11. Prime Time: Priming Your Doors & Drawers
Breaking those paint tripods out you can use them to make painting your surfaces and drying them a whole lot easier. Place the door on top of the tripods on a flat surface, remove the label from the door (but keep it nearby) and start painting the primer on once again with a small paintbrush to get all those small detailed spaces.
When those are painted, you may move on to the larger areas with a roller. Make sure your primer is completely dry before flipping the door over to paint the other side.
When it comes to painting your drawers you’ll actually only want to paint the front faces of them, because painting the sides of the drawers can cause them to stick when they’re placed back.
You can also get a super smooth finish after your primer has dried by lightly sanding your doors and drawers before the main painting begins. Be sure to remove the access from sanding if you do so!
12. Let the Painting Begin! Painting Your Cabinets, Doors, and Drawers
Talking with an employee by the paint counter where you’re purchasing from would be a great way to narrow down exactly what kind of paint you need. Don’t be afraid to ask!
Once you have your desired paint and the primer is finished drying you are actually going to paint in the same process as you did with the primer.
Only this time you’ll want to be more careful and detailed for a great finishing result. Make sure to check out the drying time for your specific paint, this is where the patience comes in!
13. You can Never be too Careful: Applying Polyurethane
When purchasing Polyurethane you’ll want to make sure it is a kind that works alongside the type of paint that you’ll be using. You can apply one coat onto your doors and drawer faces, doing this helps increase the durability of your doors and drawers and helps you keep them clean!
14. All Done! Putting Your Cabinets Back Together
Now that your painted cabinets are all dry you can assemble them back together and get your kitchen back in order. Another pro tip when assembling is to use a screwdriver instead of a power tool, this will lower the risk of any drilling accidents that could ruin all your hard work.
You now have the average costs of a kitchen cabinet painting project ($200) and you even have all the thorough steps on how to knock this project out of the park; this DIY is ready to go!